My technological knowledge has grew in the last 6 months an excessive amount. Predominantly in my Photoshop skills. I have used Photoshop CS5 in order to create all of my products throughout AS. I began Media knowing the basic information about photoshop and how to use tools on Photoshop for example like the lasso tool to cut objects out. I wasn't brilliant with this editing so after I had alot of practise through as media I have slowly improved. This is clear to see through my tasks I have completed throughout the year.

This is to show the tools that I have used and where they are situated in photoshop.

For example this is the bottle I first took images of to put into my preliminary task one; the perfume advertisement. This is a poor picture of the bottle as it is clear to see there is alot of dull light in the image. There is a block shadow running down the left hand side of the bottle and the content of the bottle is not bright enough for my liking. The light that is hitting the bottle from the flash is caught on the front of the bottle, shadowing either side of the bottle cap. I was then made aware of how to manipulate this in photoshop to produce a final piece that is suitable for a magazine advert.
I first uploaded the photo to photoshop, then duplicated the layer the image was on. This means there is two photographs of the same image available to edit in photoshop. If one image layer is turned on and the other is turned off it is easy to start again if a mistake is made. By slowly using the lasso tool I was able to select the image I want to remove from the background. After the image is selected by clicking around the object I clicked on the layer button, placed at the top of the screen, then new layer, layer via cut. This means the bottle is fully cut out of the background.
 The next step is to add a new file, you do this by clicking; file, new, a window will pop up on screen. The preset needs to be changed from Clipboard to International Paper. The setting with then automatically change and you can decide what size paper you would like to select to work on. By clicking on the first document I worked on I was then able to drag the image into my new blank document.
 I made one more adjustment to the image by going to Image, Adjustments, Brightness and Contrast and darkening the brightness -4 and lightening the contrast +6.
This is the finished product on the left.


This is another example of my editing skills. You can see how I have lightened the image and used the quick fix tool, also allocated on the left hand side of the programme, to remove any spots or blemishes my model had. I also used the blur tool to soften my models hair and the clone tool to remove the little pieces of hair my model had sticking up out of her hood. The lightened image is more appropriate for my cover page image.


This is all my front cover drafts I did on photoshop to show how many attempts I did at making my front page just right. Using the tools I have already shown above.


My contents page attempts on photoshop.
The DPS attempts and publications I used in order to align my texts to the image.
I began to learn how to manipulate text within photoshop by using secondary sources such as dafont.com. This is a site used so that you can type in the text you would like and look at designs you can use in your work.
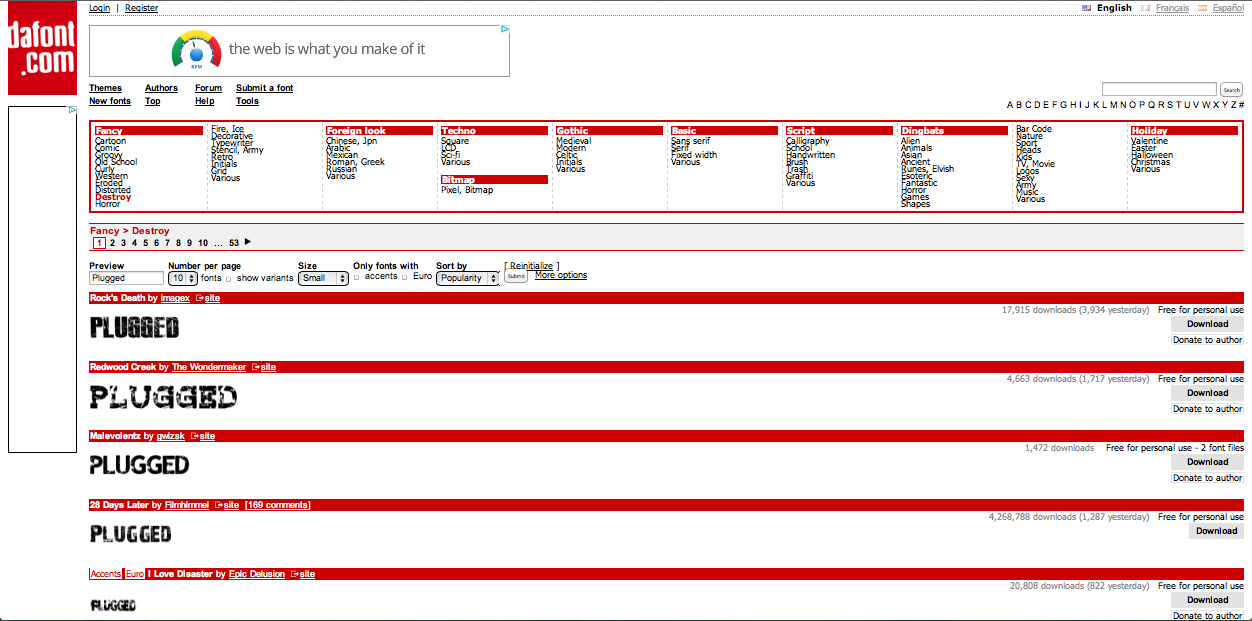
 I chose my top favourite designs for my headline and took these into photoshop.
 <-- My favourite texts.
I just copy and pasted these into photoshop and then used the technique I described earlier with using the lasso tool.
A quicker way to select these is using the magic wand tool, placed above the lasso tool. This selects anything you click straight away and selects everything similar, using this tool to select the white background and clicking delete eliminates all the colour; leaving just the text. I can then drag the layer into any photoshop document I have open, i then selected the text and painted over it in black and red with the brush tool to get a finished product like this.

Other texts I tried using are here:


No comments:
Post a Comment